Yesterday, me and dan changed the shocks on his pillarless u12. This guide will apply to any u12. The only differences will be the rear swaybar mounts, and the top of the rear struts. The differences are minor so you won’t need any additional info.
You will need a 10mm(if you have abs) 12,14,17,18,22,(sockets and spanners) some stands, a jack, a pair of poly grips, a hammer, a cold chisel, spring compressors (for the front)
You can do this by yourself if you know what your doing, otherwise I would suggest a helper because you need someone to get beers, hold things, pass tools, and get beers.
The shocks fitted were KYB heavy duty gas which we got from supercheap. I have lost the part numbers, but i will have a look tomorrow
We started with the back first because it was the easiest.
Make sure the car is on reasonably flat ground with the handbrake on and some bits of wood or something under the front wheels to stop it moving.
The first thing you will need to do is unbolt the rear swaybar from the struts. Doing this before you jack the car up makes it easier. You will need a 19mm spanner or socket.

Once you have the swaybar unbolted, jack the car up and put it on some stands. Don’t use a jack as a stand. I know a guy that was killed by a falling car.
Next you want to remove the back seat so you can get to the top of the struts.

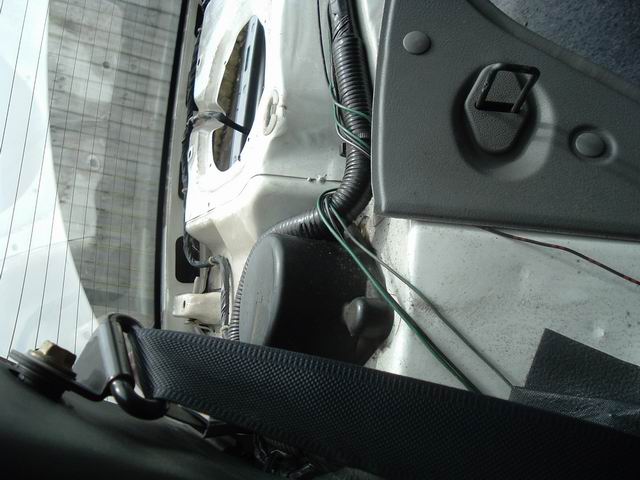
The body on your car may not look like this. Don’t worry as they are all very similar. Remove the rubber caps on the top of the struts and undo the 17mm nut on the top of the shocks about 2-3 turns. Also take a 14 and loosen the 3 nuts about half way off
Remove the brakes next. The clip holding the brake line can be slid out with pliers or you can use a flat screw driver and hammer to tap it out. It comes out pretty easy so try not to force it. Then you will need a 17 to unbolt the caliper. A spanner is pretty hard to get in there so I suggest a socket. These bolts were pretty tight, so you might have to swear a bit to get them undone.
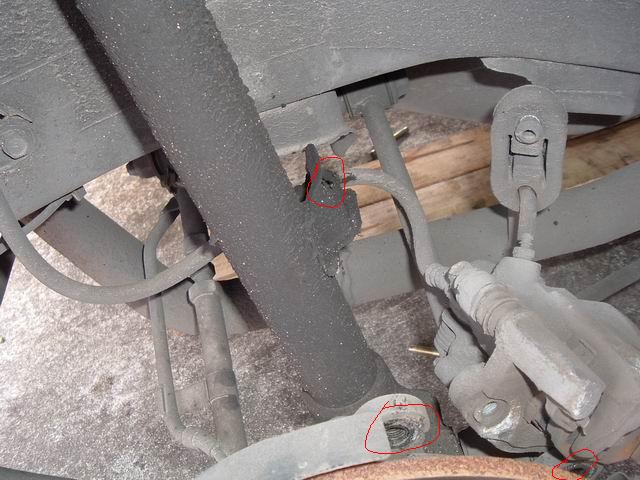
Next you want to remove the big bolt. You will need a 22 and something to hold the other end. This was a tight mofo too.
You will need a 17 to remove the lower arm from the bottom of the strut.
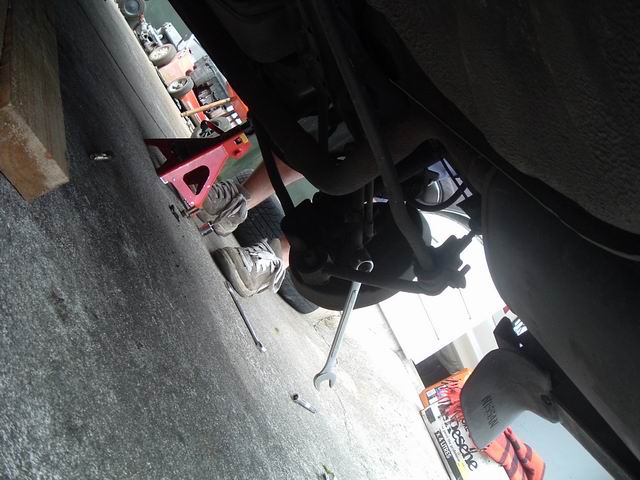
Once you have the struts out, get someone to compress the spring while you undo the nut on the top. It is easy to do as there is not much compression on the rear springs.

You need to undo the nut on the top of the strut. I got dan to stand on the strut and I used my poly grips to undo the nut. One side was really tight and I could not undo it. I got a cold chisel and hammer and made a notch in the nut then turned the chisel on an angle and tapped the nut slowly to undo it.
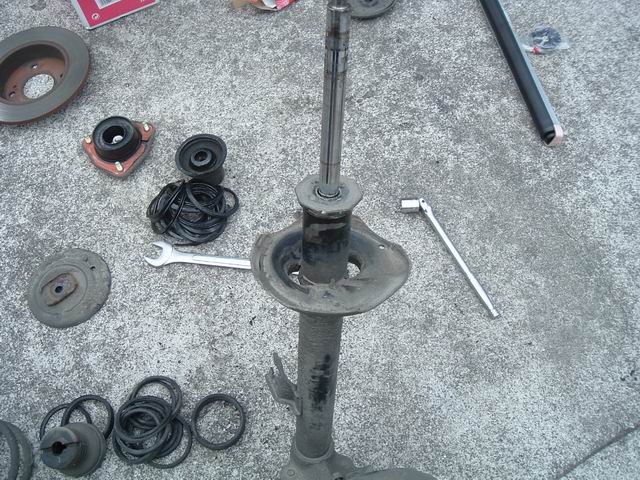
Tip the oil out somewhere, NOT in your mrs garden, she will kick your ass

You will need to get the shock out of the strut but it is held in by this little rubber ring. I pulled one of them out but the other was stuck.
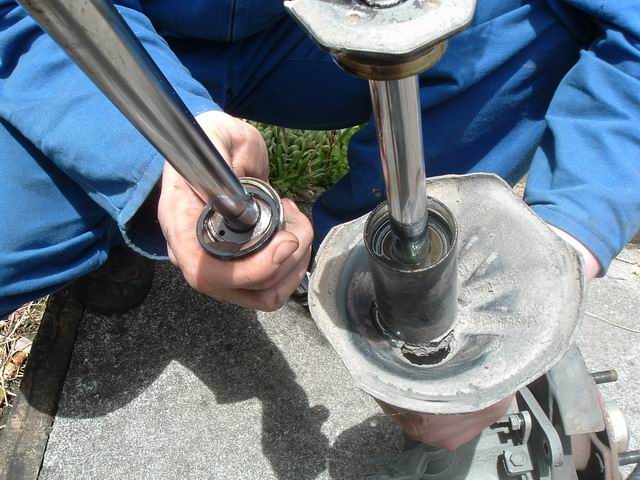
Put the nut back on the top of the shaft and use a hammer to tap the shock out. You will need to wiggle it a bit to get the rubber bit out, but it should only take a few taps.
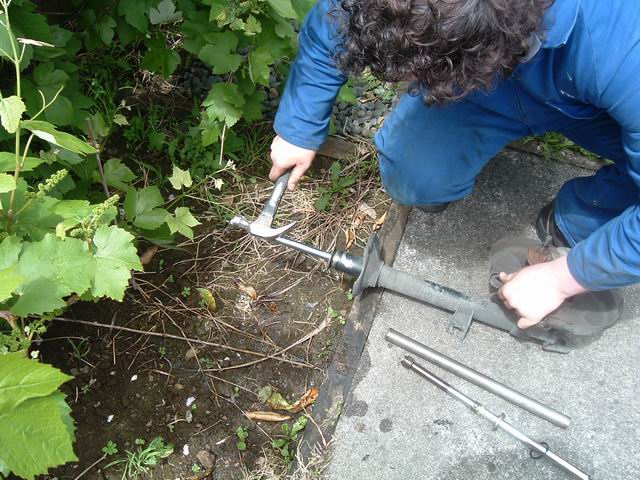
This is what you should get out of the the strut. Tip out any extra oil and give it a bit of a wipe.

Put the new shock into the strut and do up the new nut that comes with the shock. If it doesn’t have a nut, check if the old one is a suitable fit and if it is, use that. Once you have done the nut up, give the shock a wiggle and make sure that there is no movement up and down in the strut. If it moves, the nut is not clamping it properly. You may need to put a washer in the bottom of the strut before you put the shock in. I have done it on mine as the shock was a little short.
Then put the rubber boot on the shaft. Make sure you put this on as it is also the bump stop. Dans ones were shot, the dust cover bit was shredded, but the bump stop was ok. We re-used them because they were around $40 something each at repco. Personally I would get new dust covers because dust and grit could get at the base of the shock and damage it.
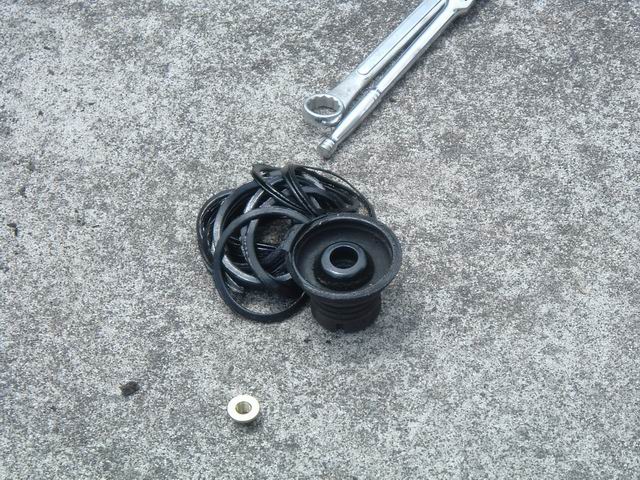
Put the spring and top hat back on. If you need the spacer, make sure you use that too. Put it on in the right order spacer->washer->spring washer->nut.
Get someone to push it down while you fit the nut.

Fitting is the opposite of removal.
Raise the strut into the car and put the nuts on the top to hold it in place. Leave them a bit loose so you can move the strut a bit to get the bolts in. You may need to have a few goes at getting the top n because the bolts aren’t in the same position.
Put the lower arm on first then the 2 arms from the crossmember and then the brakes. Do not tighten the bolts on the arms yet.
Do the bolts on the top of the strut up now and also tighten the 17mm nut on the top of the shock
Put the jack under the strut and jack it up until the weight comes off the stand on the side you are working on. Now do the 17mm bolt up on the lower arm and then the 22mm nut on the big bolt.
The reason for this is that when you do the bolts up, the inner sleeve on the boshes becomes fixed to the strut. If you do this when the strut is right down, they will twist when you let the car back onto its wheels. This will be ok, but when you hit a big bump, the struts will go right up and twist the bushes even more and shear the rubber off the inner sleeves, giving you sloppy suspension. If you do them up with the struts in their normal position, they will be under no twist at normal ride height.
Once you have done all the bolts up, check them all again. Put the wheels back on and let it down. Put the swaybar bolts back in and your done.
For the front it is a bit different.
You will need spring compressors for the front springs (if they are stock) because stock u12 front springs are pretty compressed even with the struts fully extended. You wont be able to lean on the spring and squash it enough to get the nut on, or even safely off. I weigh around 110kg and cant squash them.
We bought a set of spring compressors from supercheap for 40 bucks.
The procedure for the front is a bit like the back. First you want to jack it up and sit it on some stands.
Next, take the wheels off, unbolt the brakes, and also the abs if you have it.
Loosen the 17mm nut on top of the shocks. It is easiest to do with the strut still in the car, but for us, the top hat on the spring kept turning. We had to get the struts out and put them into a vise to hold the top while we loosened the nut.
Undo the 2 17mm bolts bolting the strut to the hub. These are really tight mofo’s and I used a socket and power bar with a bit of pipe on the end to undo them.
Undo the 14mm nuts on top and you have it out.
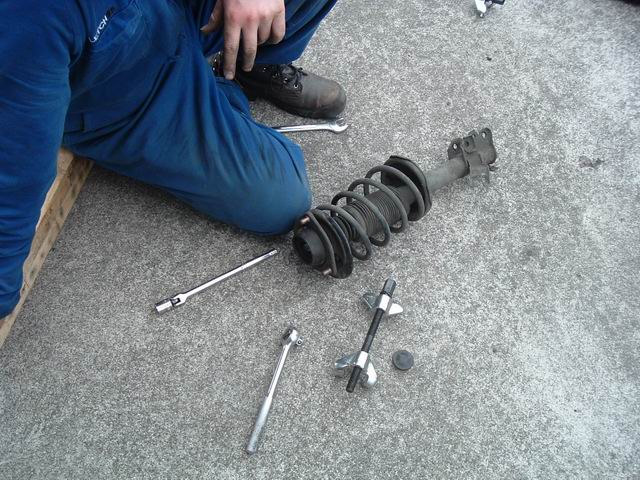
This is where you want spring compressors

Wind them up until there is a bit of play in the top of the spring to the top hat.
Be careful when using spring compressors because they can slip off the springs. You will see what I mean when you use them. If you are reasonably careful you wont have a problem.
As you can see by dans face, its pretty hard work.
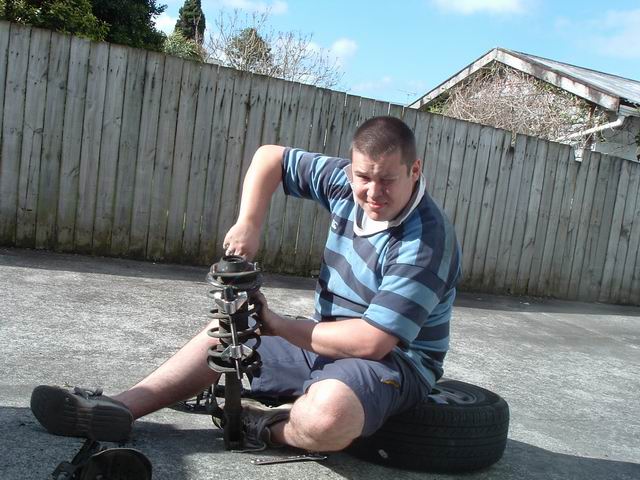
When you get the springs off, put them onto your new struts and remember to put the rubber boots on. Put the top hat on and do up the nuts. You have to make sure they are tight. The best way is to either use a rattle gun, or clamp the top coil to the top hat in a vise and crank it up with a socket.
Fit the strut to the car and do the top bolts up loosely. The 17mm bolts on the bottom of the strut need to be done up really tight. When you disturb these bolts, you should get a wheel alignment including the camber done.
Tighten the top bolts and refit the brakes and abs if you have it.
You may have difficulty getting the brakes back over the disc. This happens because the piston slowly slides out. Remove the pad on the piston side and using some poly grips, squeeze the piston back in a bit. Be careful you don’t go too far as you may cause the reservoir to overflow and the fluid will take the paint off real easy. If you get any on the paint, wash it of with some water.
Check all the bolts and refit the wheels. When you take it for its first drive, take it easy and listen for any rattles that will indicate loose bolts or brackets and get a wheel alignment within a few days.
 Topic: DIY: Changing your shocks for U12 owners (Read 2632 times)